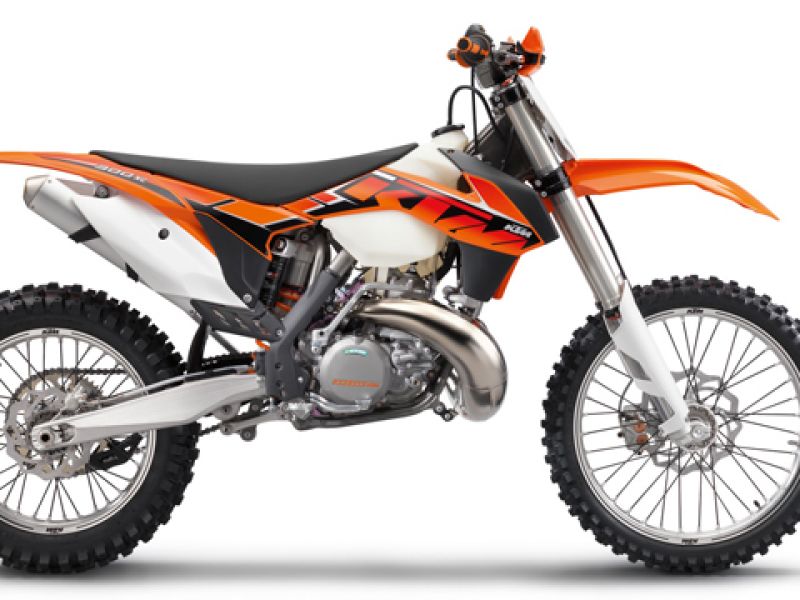
2014 ktm 300 xc-w service manual Brake linings available from accessory suppliers are often not tested and approved for use on KTM vehicles. The construction and friction factor of the brake linings and therefore the brake power can differ considerably from the original KTM brake linings. If brake linings are used that differ from the originals, there is no guarantee that they comply with the original license. The vehicle no longer corresponds to the condition at delivery, and the warranty is no longer valid.
KTM 300 exc workshop manual
Never use DOT 5 brake fluid! It is silicone-based and purple in color. Oil seals and brake lines are not designed for DOT 5 brake fluid. Avoid contact between brake fluid and painted parts. Brake fluid attacks paint! Use only clean brake fluid from a sealed container!
ktm 300 exc User manual When cleaning the vehicle with a pressure cleaner, do not point the water jet directly onto electrical components, connectors, cables, bearings, etc. Maintain a minimum distance of 60 cm between the nozzle of the pressure cleaner and the component. Excessive pressure can cause malfunctions or destroy these parts.
KTM 250 exc service manual
If you plan to garage the motorcycle for a longer period, perform the following steps or have them performed. Before storing the motorcycle, check all parts for function and wear. If service, repairs, or replacements are necessary, you should do this during the storage period (less workshop overload). In this way, you can avoid long workshop waiting times at the start of the new season.
2014 KTM 250,300 SX XC Owner's Manual
- Assembling the fork legs (250SX EU)
- Assembling the fork legs (250SX USA)
- Disassembling the cartridge
- Disassembling the piston rod
- Disassembling the hydrostop unit
- Disassembling the seal ring retainer
- Checking the fork legs
- Assembling the seal ring retaine
- Assembling the hydrostop unit
- Assembling the piston rod
- Assembling the cartridge
- Assembling the fork legs
- Greasing the steering head bearing
- Removing the lower triple clamp
- Installing the lower triple clamp
- Checking the play of the steering head bearing
- Adjusting the play of the steering head bearing
- Installing the spring (250 SX EU)
- Installing the spring (250 SX USA)
- Installing the spring (250/300 XC)
- Installing the alternator cover (250 SX)
- Installing the starter motor (250/300 XC)